A Creative and Colourful Table
Skill Level: Beginner
Bring that shabby old table back to life with a bold burst of colour.
Give an old table a new lease of life with our step-by-step tutorial. All you need is a bit of beeswax, a new lick of paint, and a little creativity.
Products You Will Need

Step by Step Instructions
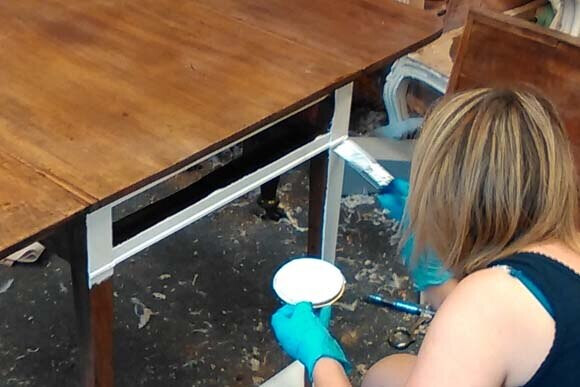
Step 1. Make Repairs
Make any repairs to your table (glues and sprays work well on wood).
Step 2. Get Sanding
Sand down the wooden surfaces – start with a coarse sandpaper grit and then move onto a finer paper.


Step 3. Wipe Surfaces Clean
Wipe the surfaces clean with white spirit.
Step 4. Apply Primer
Apply a primer coat on the bare wood areas that you plan to paint.
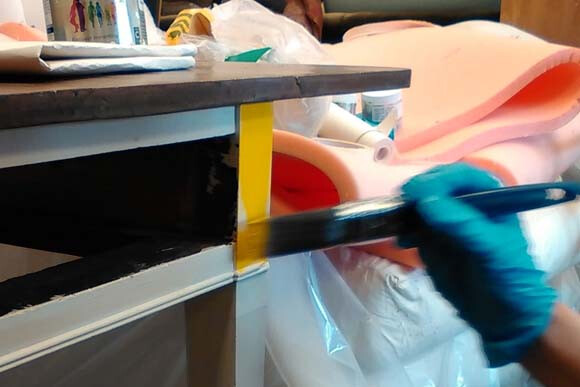
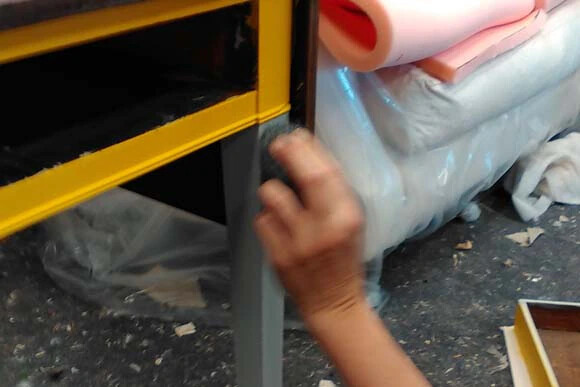
Step 5. Get Painting
Paint the desired areas. Apply 2 to 3 coats, as required, until you are happy with the finish.
Step 6. Lightly Sand
Lightly sand (400 grit) the painted areas to remove any imperfections on the surface.
Step 7. Apply Beeswax
Apply a beeswax coat, allow some time for it to absorb, and then buff. Repeat this 5/6 times (more if required, for optimum shine).
Step 8. Place Wallpaper
Place the piece of wallpaper on the table top in the desired position. Wrap the paper over the edges, make cuts at the corners so the paper can overlap for a neater/smoother edge.


Step 9. Glue The Wallpaper
Use glue to fix the paper onto the table top and allow it to dry.
Step 10. Varnish
Once completely dry, seal the paper with a coat of varnish. Apply according to the varnish instructions. Allow drying thoroughly before placing any items on the top of the table to avoid marking.